Dealing with your home’s water lines can feel like a real headache. Whether you’re building new or noticing problems with your old pipes, getting the right help for water line repair & installation in Ottawa is super important. This guide is here to break down what you need to know, from spotting issues to getting the job done right, so you can keep your water flowing without any surprises.
Key Takeaways
- Understand the signs that suggest your water lines need attention, like low water pressure or leaks.
- Learn about the process for installing new water lines and what homeowners need to consider.
- Discover how professionals handle water line repairs safely and efficiently.
- Know the steps involved in installing water supply lines for appliances.
- Find out how to maintain your water lines to avoid future problems.
Introduction to Water Line Installation and Repair In Ottawa
Your home’s water line is pretty important, right? It’s the main pipe that brings fresh water from the city’s supply right into your house. When it’s working well, you don’t even think about it. But when something goes wrong, it can cause a whole lot of trouble, from low water pressure to leaks that can damage your property.
Whether you’re building a new home, dealing with an older property, or just noticing some weird plumbing issues, understanding water line installation and repair is key. It’s not exactly a DIY weekend project for most people; these jobs often need professional plumbing services.
Here’s a quick look at what we’ll cover:
- Signs your water line might need attention.
- What goes into installing a new water line.
- How repairs are done safely and effectively.
- Tips to keep your water lines in good shape.
Dealing with water line issues can be stressful, but knowing what to expect and who to call can make a big difference. We’ll break down the process so you know what’s happening with your home’s water supply.
Signs You Need Water Line Repair in Ottawa
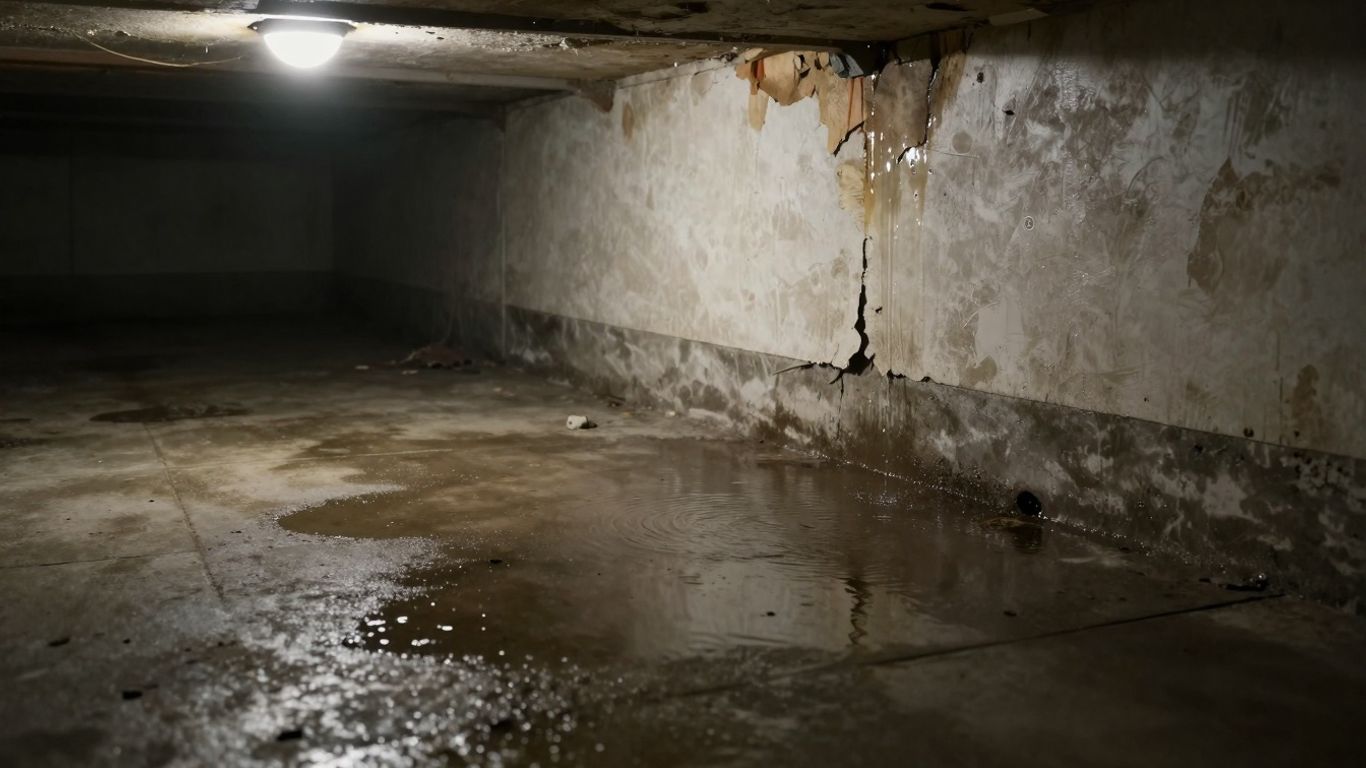
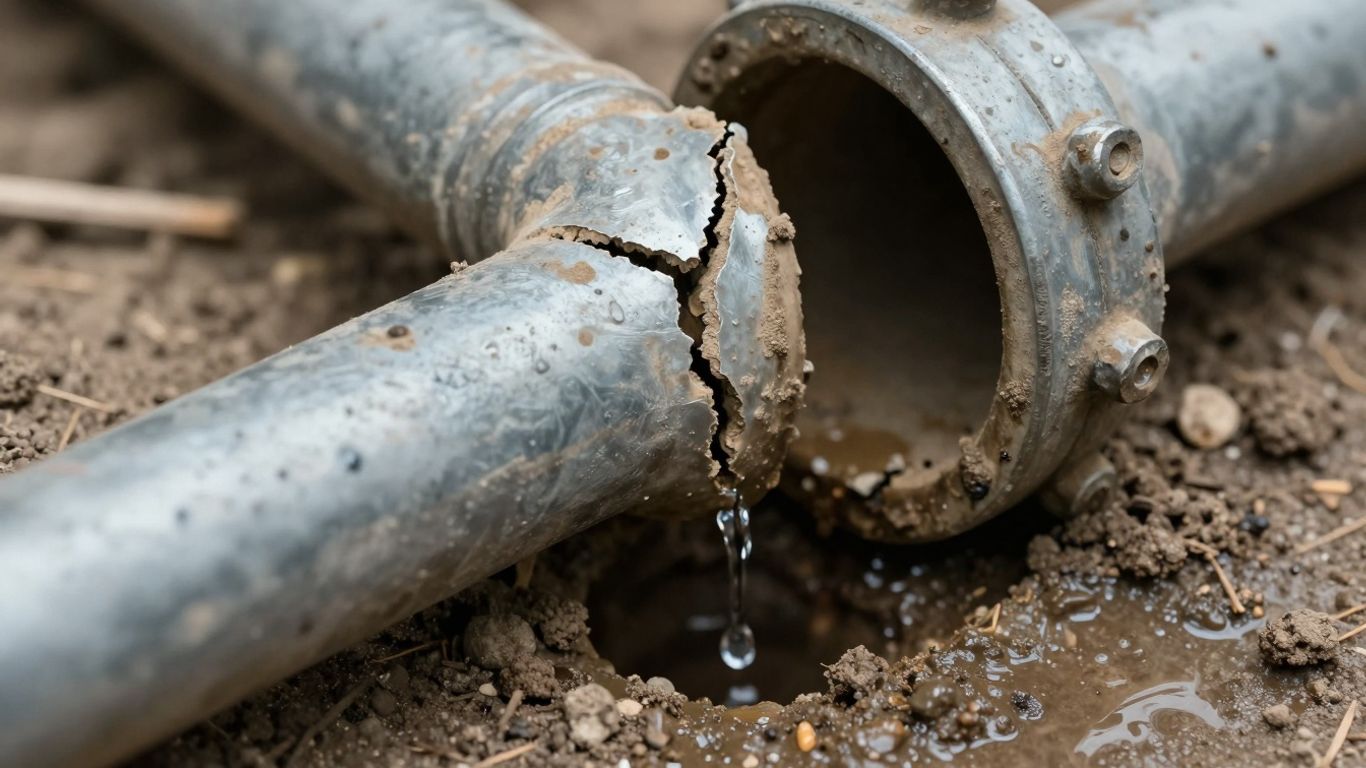 It’s easy to overlook your home’s water lines until something goes wrong. But paying attention to a few key indicators can help you catch problems early, saving you from bigger headaches and potential water damage. If you’re in Ottawa and notice any of these issues, it might be time to consider water line repair in Ottawa.
The most obvious sign is a sudden, unexplained drop in water pressure throughout your home. This isn’t just an annoyance; it can point to a significant leak or blockage in your main water line. Other common signs include:
- Unexplained puddles or damp spots: Keep an eye out for wet areas in your yard, especially near where the water line enters your house, or damp patches on walls and ceilings inside. Subtle discoloration like yellow or brown stains on walls can indicate moisture wicking through drywall, a common sign of hidden water damage. Peeling or bubbling paint is another indicator. Addressing these early can prevent more extensive issues.
- The sound of running water when no fixtures are on: If you hear a constant hissing or rushing sound, it’s a strong signal that water is escaping somewhere it shouldn’t be.
- A spike in your water bill: An unexplained increase in your monthly water bill, even if your water usage habits haven’t changed, often means you’re losing water due to a leak.
- Deteriorating pipe infrastructure: Older homes, particularly those with original City of Ottawa water lines made of lead or galvanized steel, are more prone to corrosion and failure. If your home has these older materials, it’s wise to be extra vigilant.
Ignoring these signs can lead to more severe problems, including significant property damage and potential health concerns. Addressing issues with your water line installation in Ottawa promptly is always the best approach.
If you suspect a problem, don’t wait. Early detection is key to minimizing damage and repair costs. For any plumbing repair needs, relying on Professional Ottawa Plumbing Services ensures accurate diagnosis and timely fixes before the issue escalates.
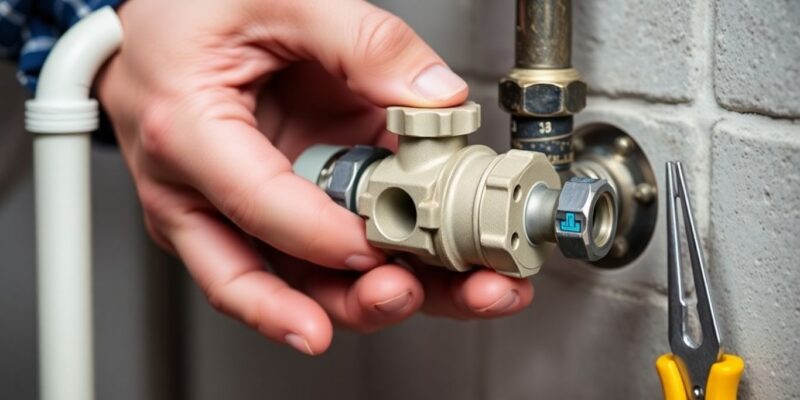
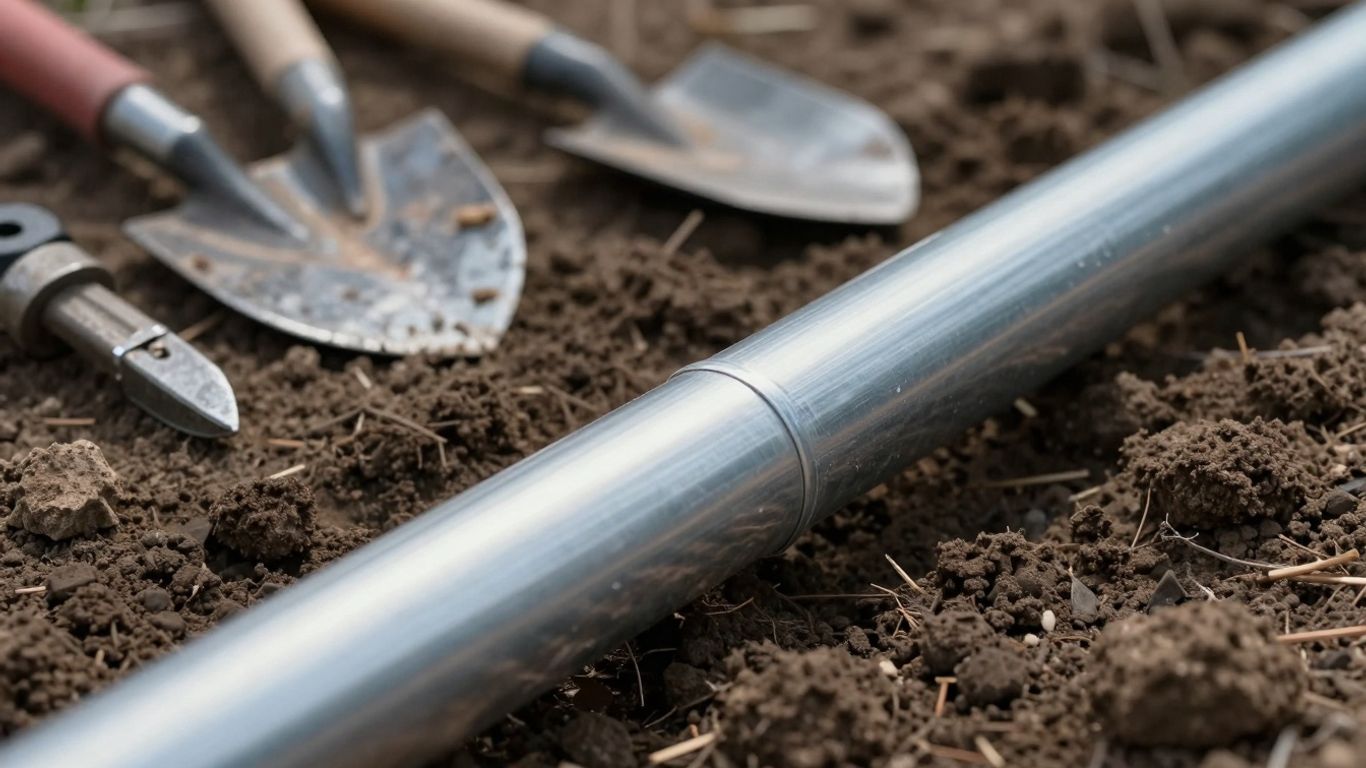
Water Line Installation: What Homeowners Need to Know
So, you’re thinking about getting a new water line installed or maybe replacing an old one? It’s a pretty big job, and honestly, it’s not something most folks tackle themselves.
Getting a new water main connection to your house involves more than just digging a hole and laying pipe. It’s about connecting your home to the city’s water supply, and there are rules and regulations to follow. If you’re building a new place or your current pipes are just ancient and failing, this is the way to go. It’s a way to make sure you’ve got reliable, clean water for years to come.
Here’s a quick rundown of what you should be aware of:
- Permits are a must: You can’t just start digging. Ottawa has specific rules, and you’ll need official permits from the city. This process can be a bit of a maze, but a good plumbing company will handle all the paperwork for you. They know the ins and outs of what the city requires.
- It takes time: Depending on your property, how far the connection needs to be, and the type of ground you have, a water main installation can take anywhere from a day or two to a bit longer. It’s not a quick fix, but it’s a long-term solution.
- Minimizing disruption: While digging is necessary, professionals use methods to try and keep the mess to a minimum. They aim to reduce the impact on your lawn, driveway, or any pathways.
- Material matters: The pipes used need to be up to code and safe for drinking water. Older homes might have had lead or galvanized pipes, which are definitely not ideal. New installations use modern, safe materials.
When you’re looking into water line installation, it’s easy to get caught up in the technical details. But at the end of the day, it’s about ensuring your home has a safe and consistent supply of water. Think of it as an investment in your property’s health and your family’s well-being.
If you’re unsure about the process or just want to make sure it’s done right, it’s always best to get a professional involved. They’ve got the experience and the tools to get the job done correctly and according to all the local rules.
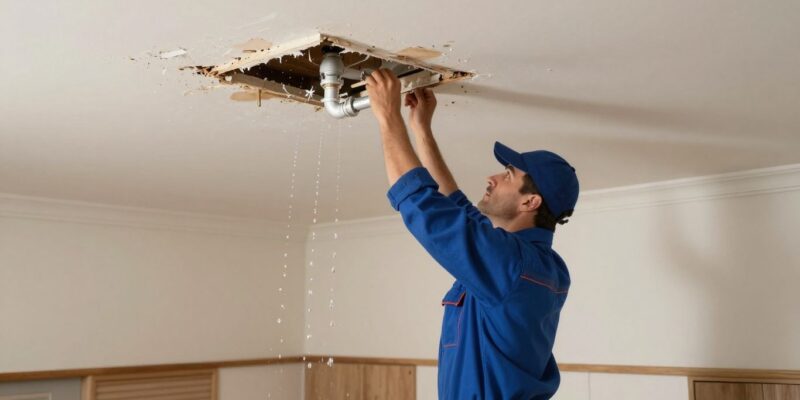
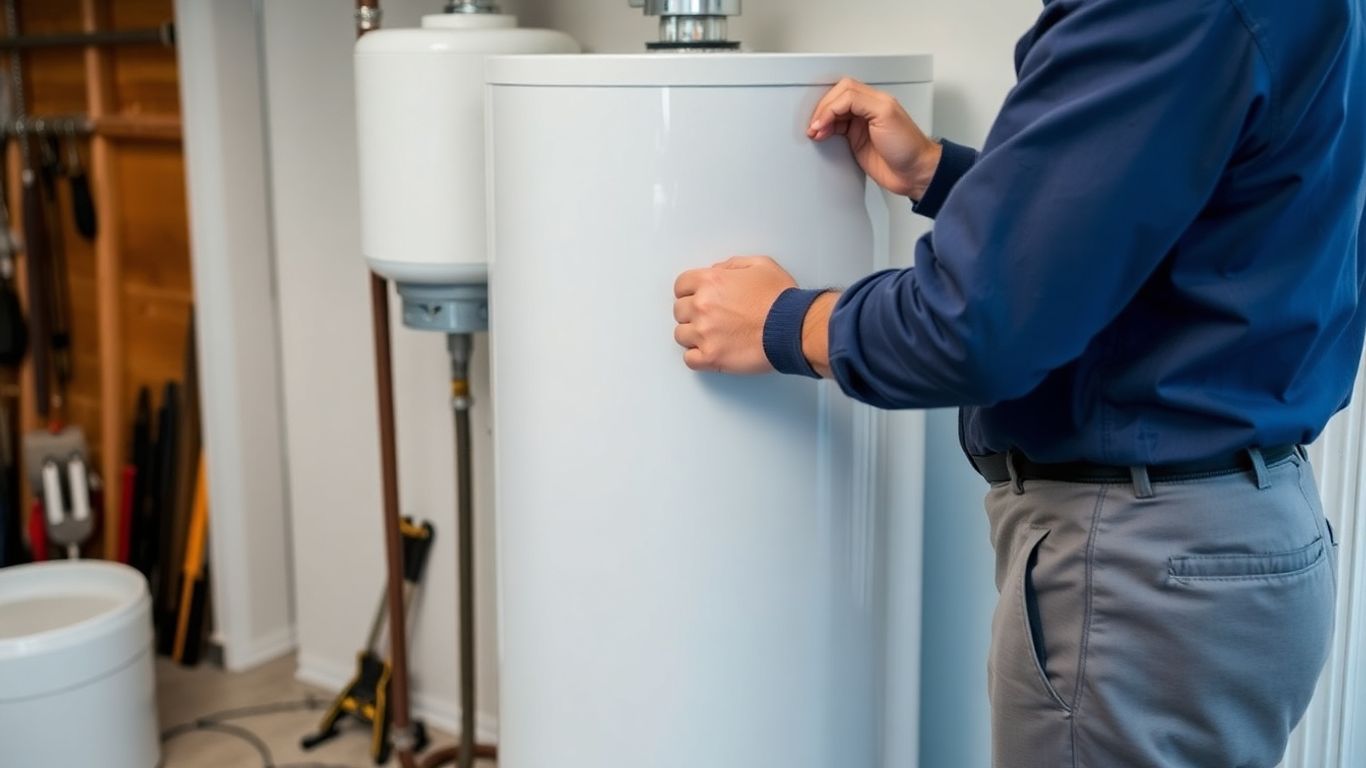
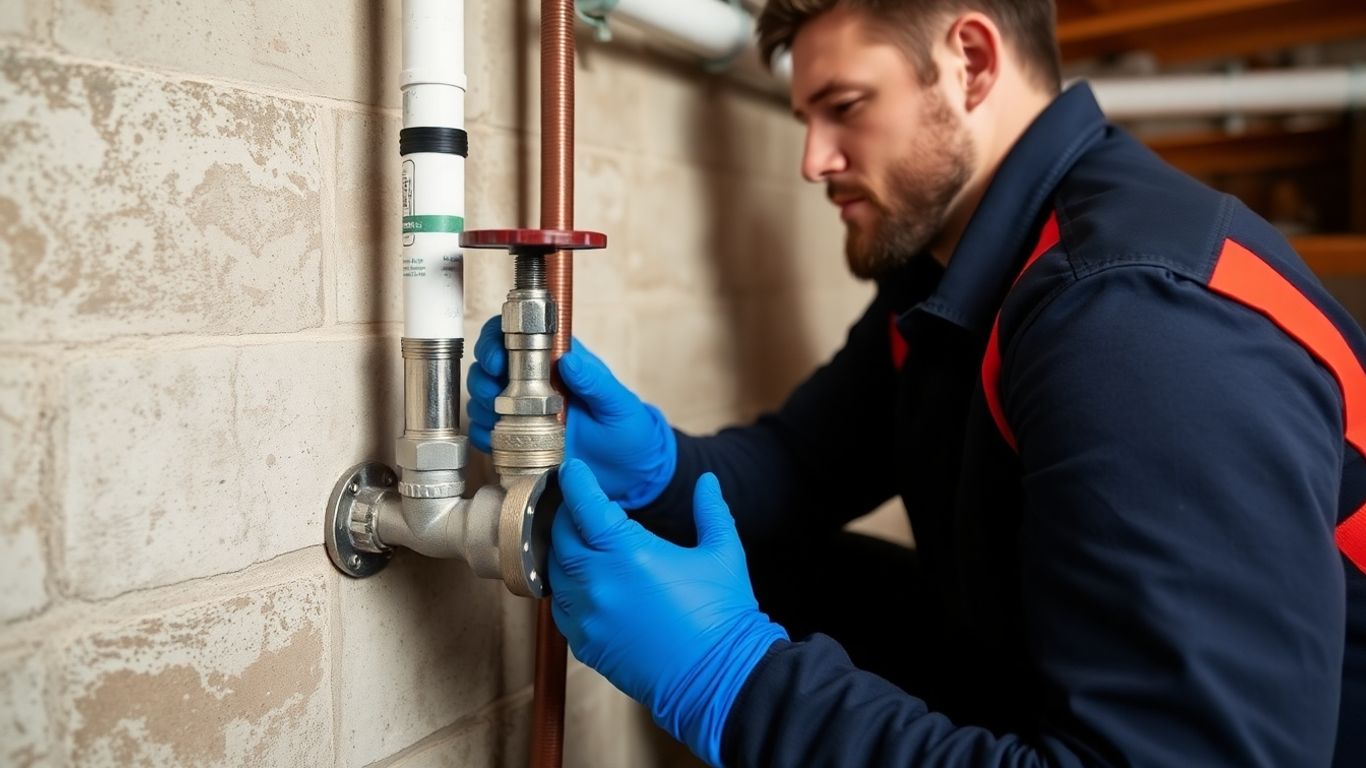
How to Repair Water Lines Safely
When you’ve got a water line issue, the first thing you want to do is fix it right, and safely. Nobody wants more problems, right? If you’re dealing with a leak, knowing how to repair water line breaks is key. Sometimes, it’s a simple fix, like tightening a joint or replacing a small section. Other times, it’s more involved, especially if you’re dealing with older pipes or a significant break. The most important step is always to shut off the main water supply to your home before you start any work. This prevents further flooding and makes the repair process much safer.
For minor leaks, you might be able to use a repair clamp or specialized tape designed for plumbing. These are temporary fixes, though, and it’s usually best to plan for a more permanent repair soon after. If you suspect a more serious problem, or if you’re not comfortable with DIY plumbing, it’s always a good idea to call in a professional. They have the tools and experience for proper leak detection pipes and can make sure the repair is done correctly the first time.
Here’s a general rundown of what to consider:
- Identify the Source: Before you can fix it, you need to know exactly where the leak is coming from. Look for drips, wet spots, or listen for running water when no fixtures are on.
- Assess the Damage: Is it a small pinhole leak, a crack, or a complete break? The severity will determine the best repair method.
- Gather Supplies: Depending on the repair, you might need pipe cutters, replacement pipe sections, couplings, sealant, clamps, or repair tape.
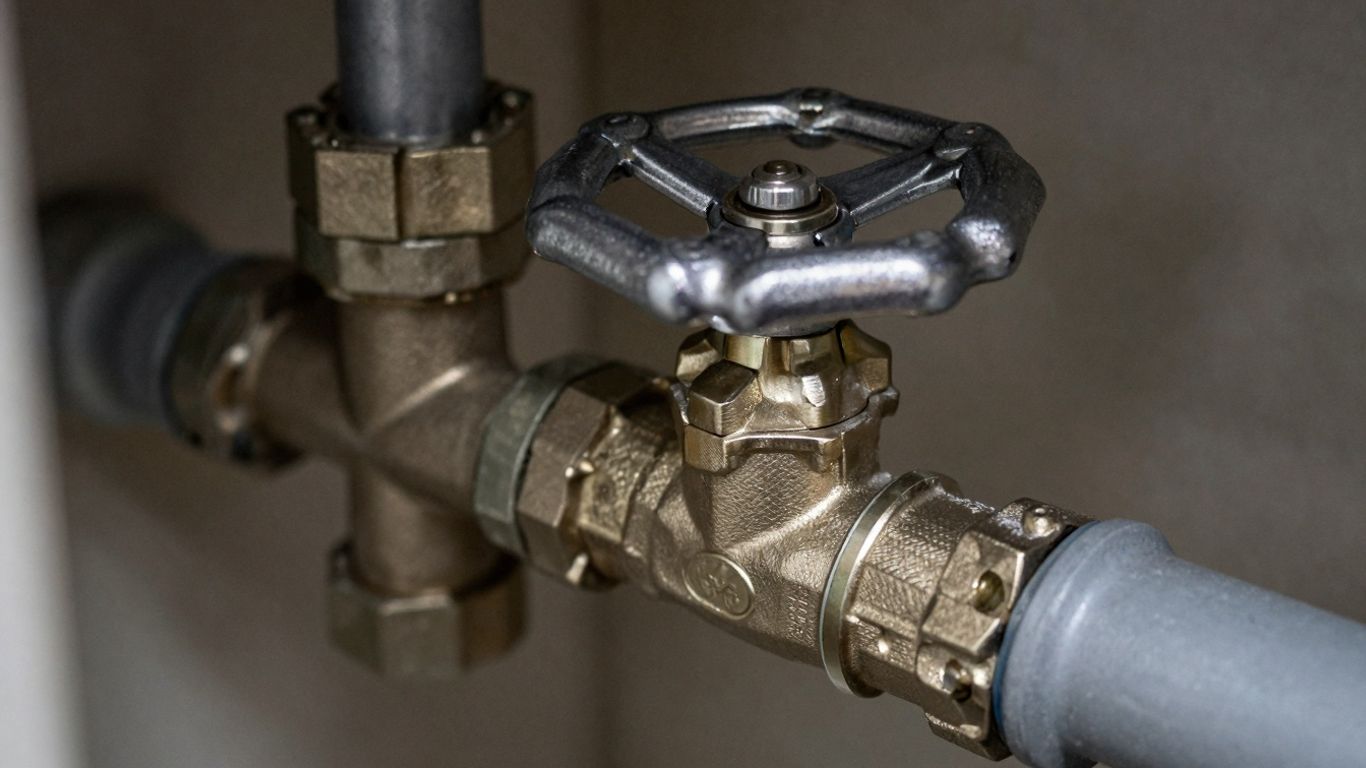
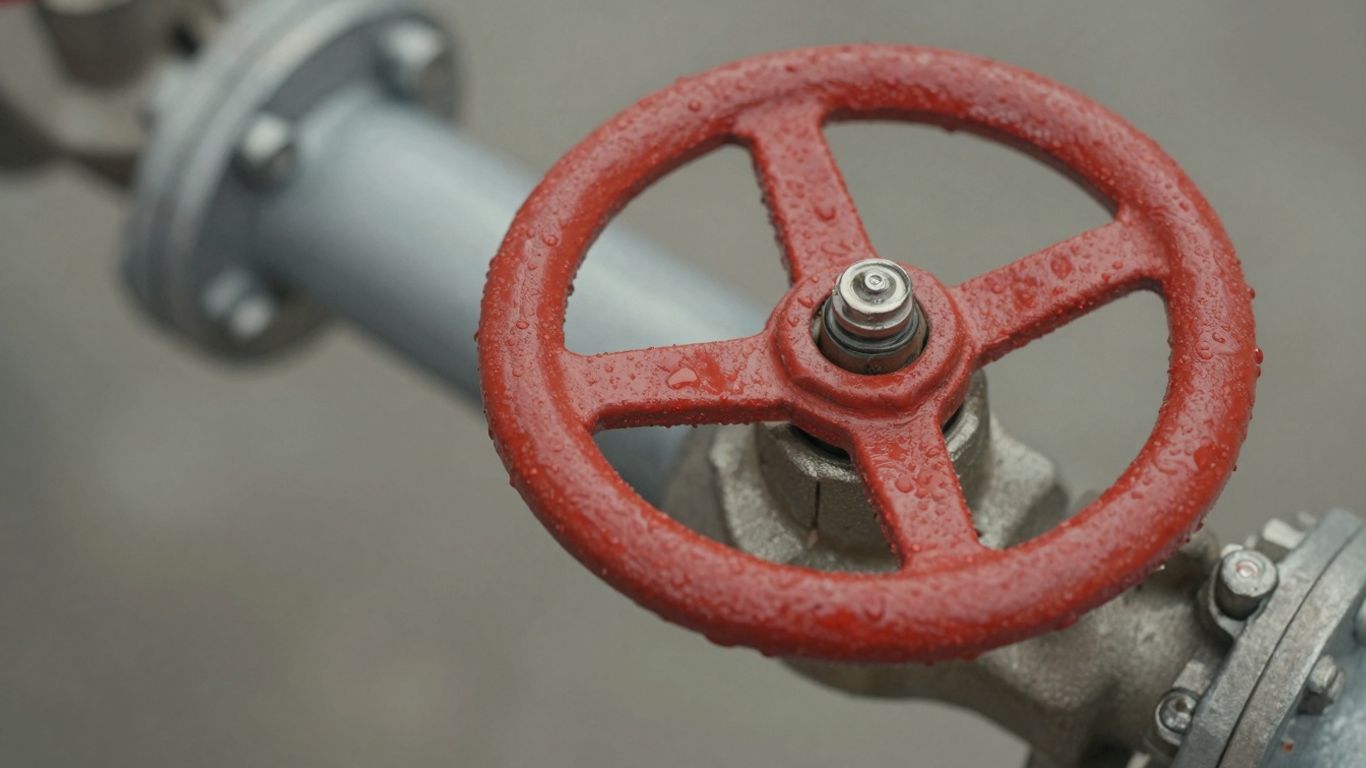
- Shut Off Water: As mentioned, this is non-negotiable. Find your main water shut-off valve and turn it off completely.
- Drain the Line: Open a faucet at the lowest point in your house to let any remaining water drain out of the affected pipe.
- Make the Repair: Follow the specific instructions for your chosen repair method (e.g., applying a clamp, cutting out and replacing a section of pipe).
- Test the Repair: Once the repair is complete, slowly turn the main water supply back on and check carefully for any leaks.
Dealing with water line issues can be stressful. If you’re unsure about any step, or if the problem seems extensive, don’t hesitate to call a qualified plumber. They can handle everything from minor leaks to major pipe replacements, ensuring your home’s water system is safe and reliable.
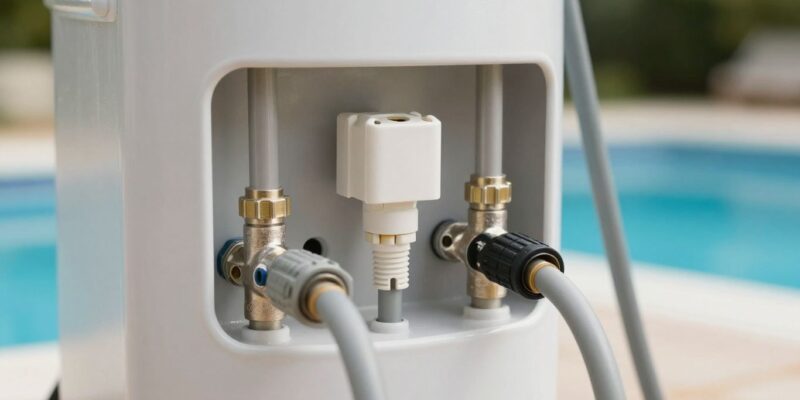
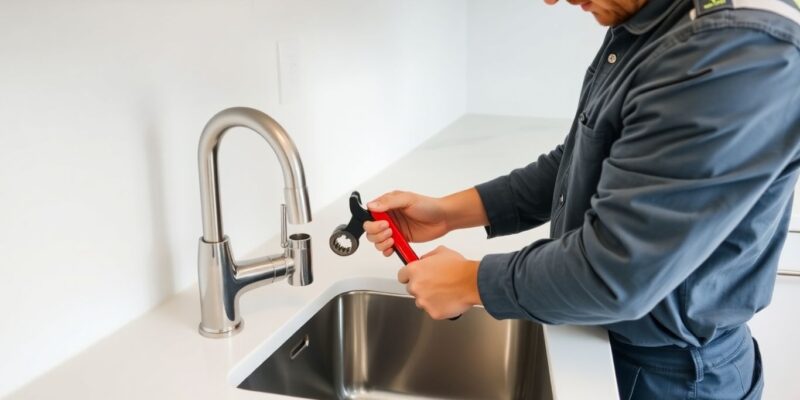
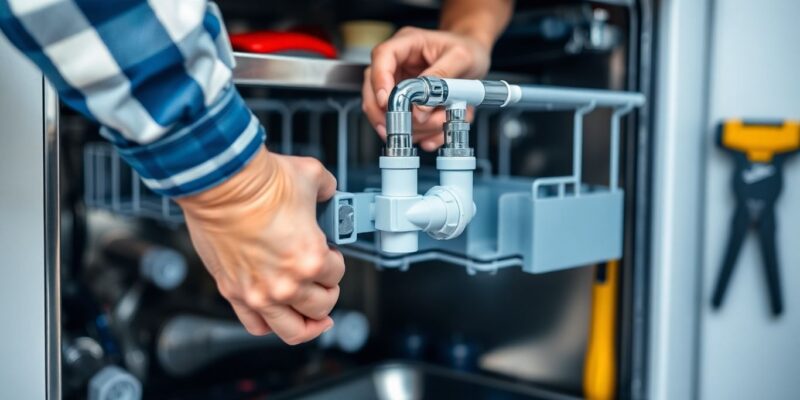
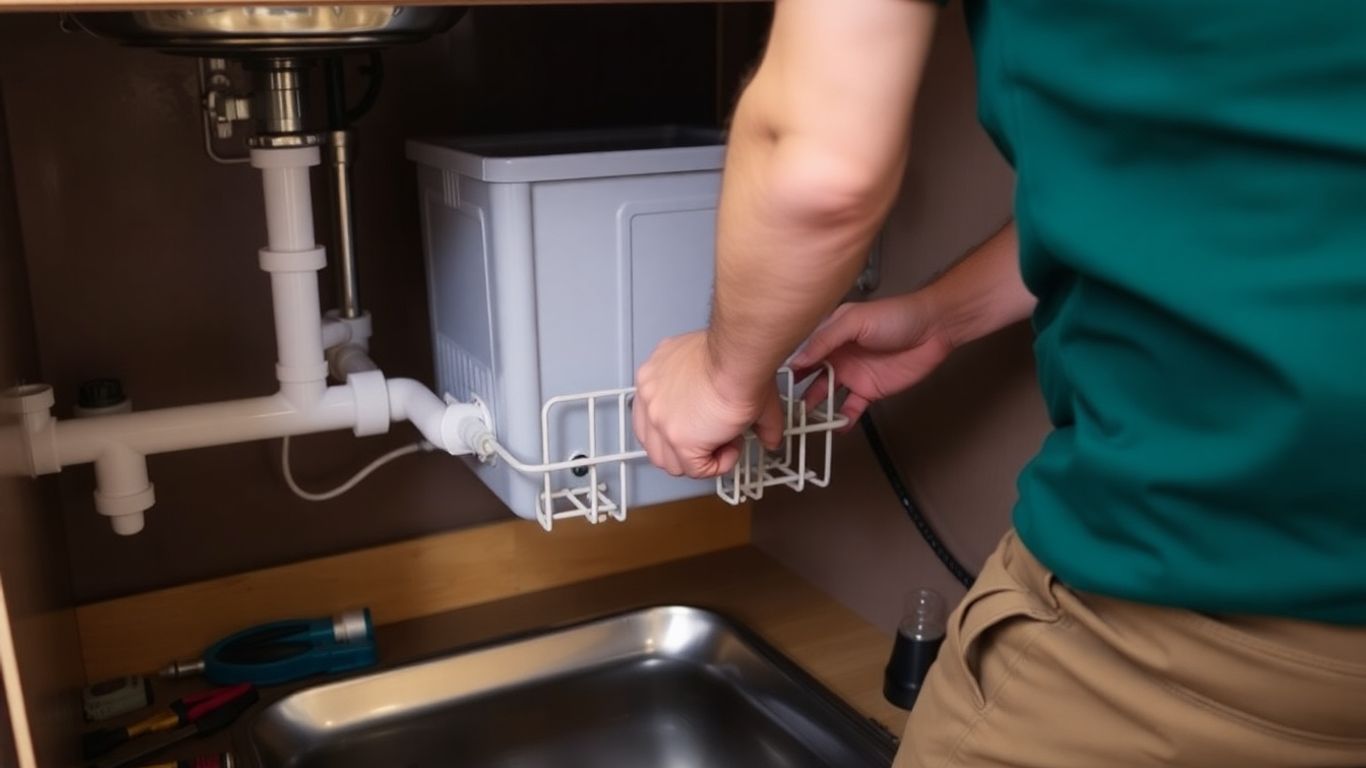
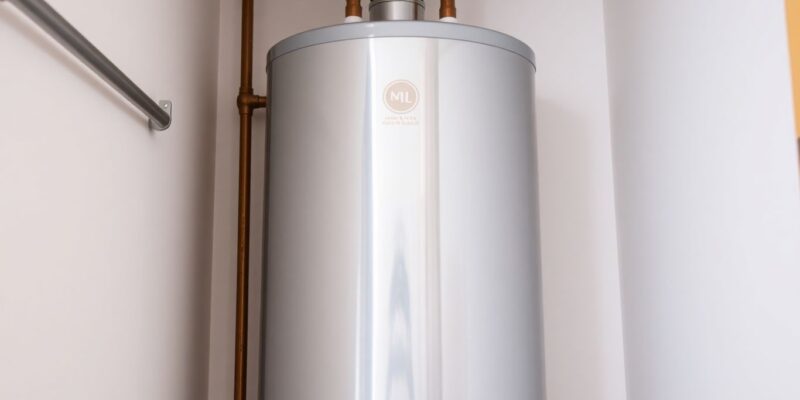
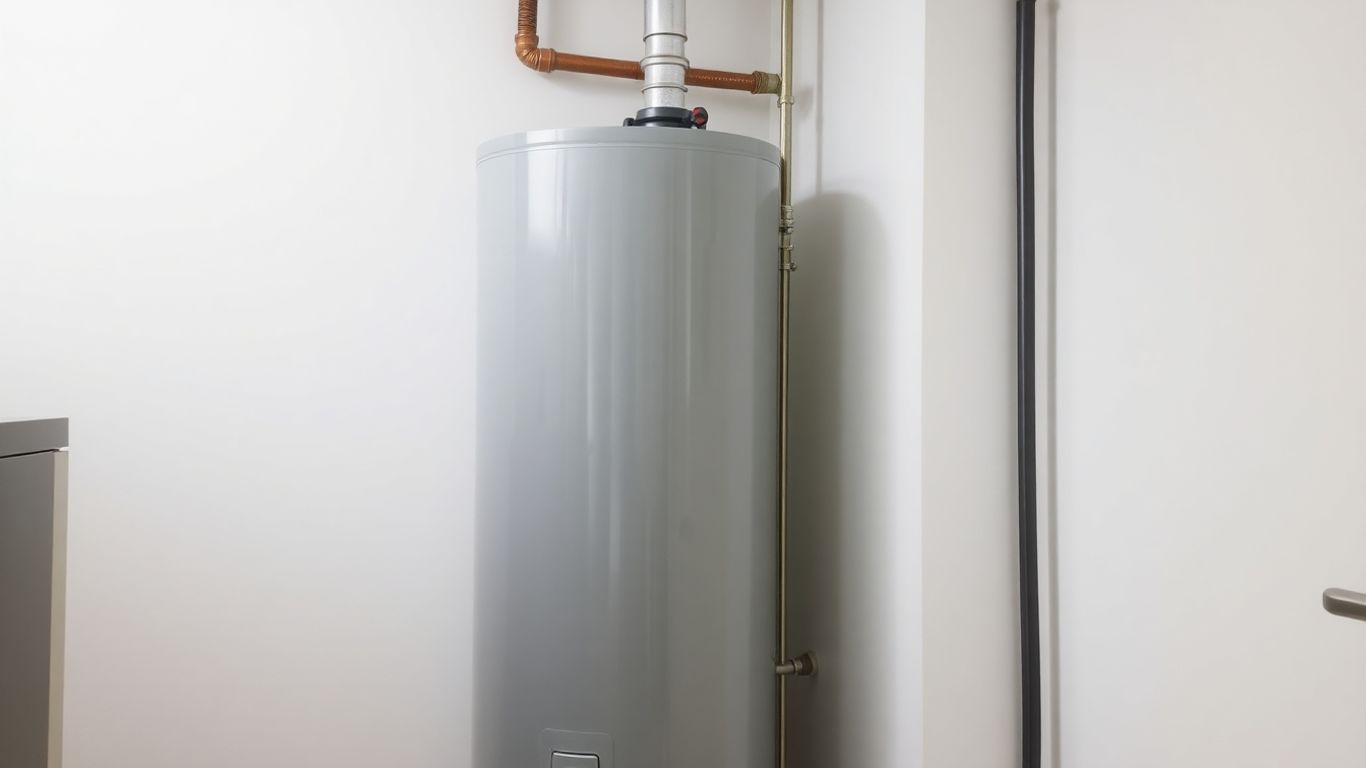
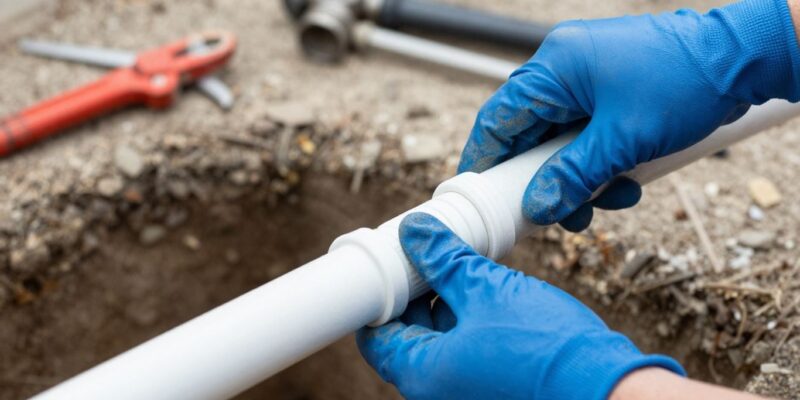
Installing Water Supply Lines for Appliances
So, you’ve got a new appliance or maybe just need to update the hookups for your existing ones. Connecting water supply lines for things like dishwashers and sinks might seem straightforward, but there are definitely some details to get right. It’s not just about turning a valve; it’s about making sure everything is sealed up tight and works as it should.
When you’re thinking about how to install a water supply line, especially for something like how to install dishwasher water line or how to install sink water lines, there are a few common steps involved. Getting these right is key to avoiding leaks and making sure your appliance gets the water it needs.
Here’s a general rundown of what’s usually involved:
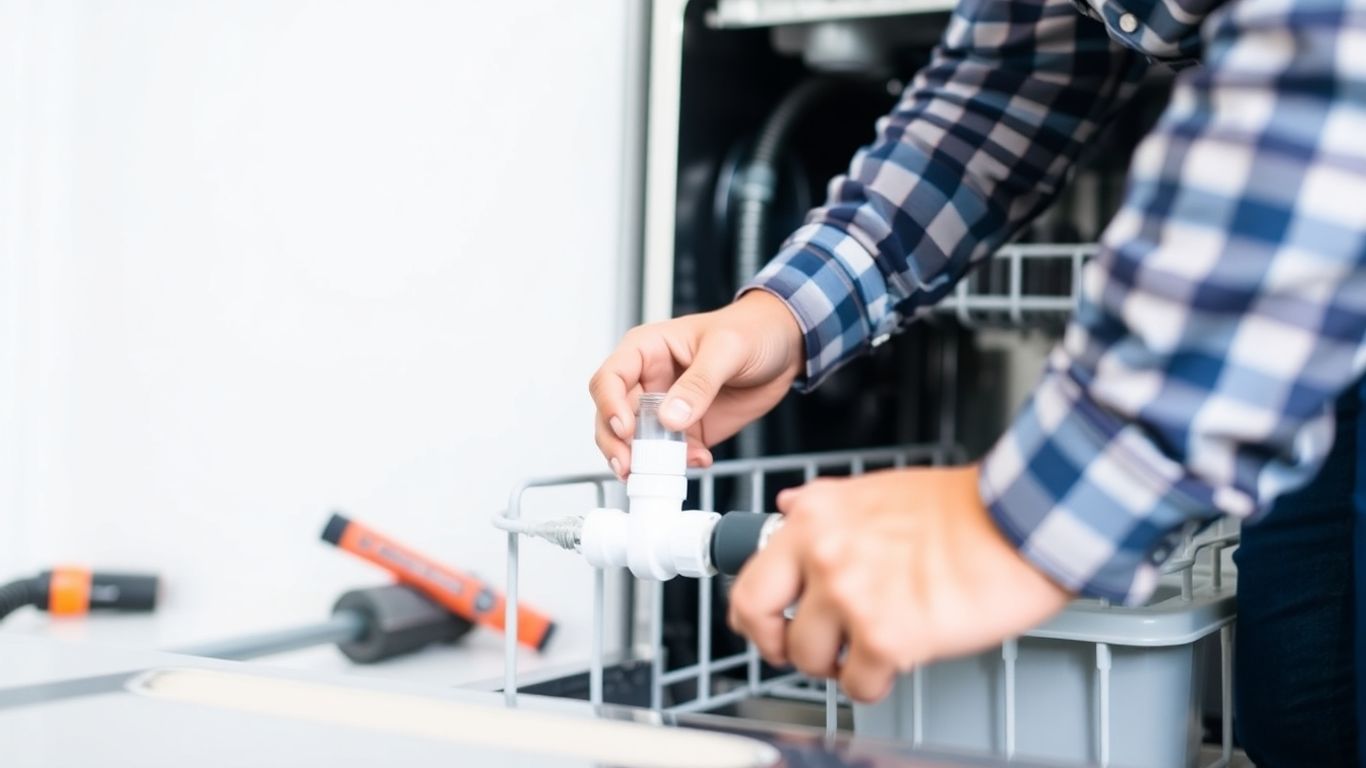
- Shut off the main water supply: This is the absolute first step. You don’t want water spraying everywhere while you’re working.
- Locate the water source: This is typically a cold-water shut-off valve under your sink or near the appliance.
- Connect the supply line: Use the correct fittings and tools to attach the new supply line to both the shut-off valve and the appliance’s water inlet.
- Tighten connections: Make sure all connections are snug but not overtightened, which can damage the fittings.
- Turn water back on slowly: Check for any drips or leaks immediately.
- Test the appliance: Run the appliance through a short cycle to confirm everything is working correctly.
For specific tasks like installing a dishwasher water supply line, you’ll often be dealing with flexible braided hoses. These are pretty user-friendly. The main thing is to ensure you’re using the right size fittings and that the rubber washers inside the connectors are in good shape. A common mistake is forgetting to put the washer in, or using a hose that’s too short, which puts stress on the connections.
When tackling how to install a water supply line for any appliance, always double-check the manufacturer’s instructions for that specific model. They often have unique requirements or recommendations that are important to follow for proper function and to keep your warranty intact.
Remember, if you’re not comfortable with plumbing work, or if you’re dealing with older pipes or complex setups, it’s always a good idea to call in a professional. They have the tools and experience to get the job done right and safely, especially when it comes to things like installing a dishwasher water supply line.
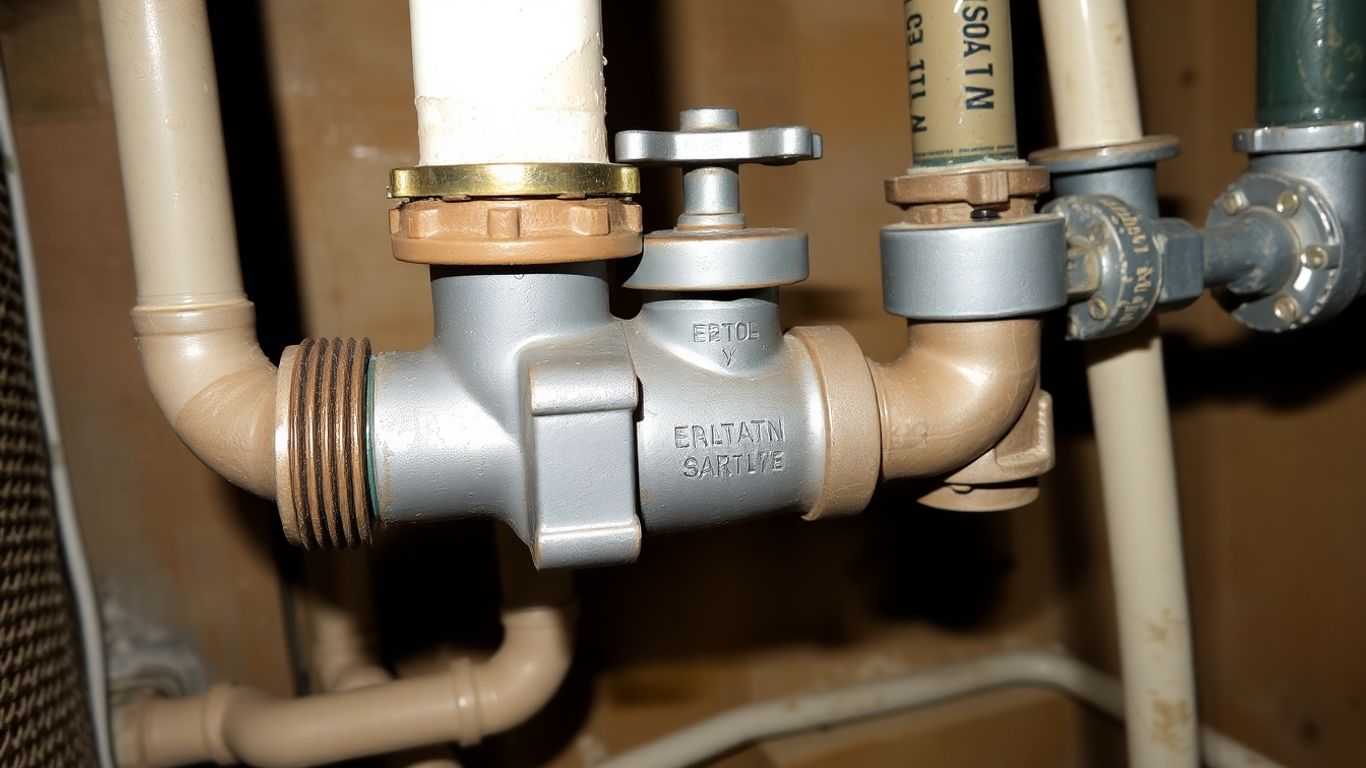
Main Water Line Repair
When your main water line runs into trouble, it’s more than just an inconvenience; it can be a serious issue for your entire home’s water supply. Addressing main water line repair promptly is key to preventing further damage and water loss.
Several things can go wrong with these vital underground pipes. Over time, they can corrode, especially older ones made of lead or galvanized steel. Tree roots are also notorious for seeking out water sources and can crack or block pipes. Ground shifts, freezing temperatures, or even just the sheer age of the system can lead to breaks and leaks.
Signs that your main water line needs attention often include a sudden drop in water pressure throughout your house, unusually wet or soggy spots in your yard even when it hasn’t rained, or discolored water coming from your taps. You might also hear strange noises, like hissing or gurgling, coming from underground.
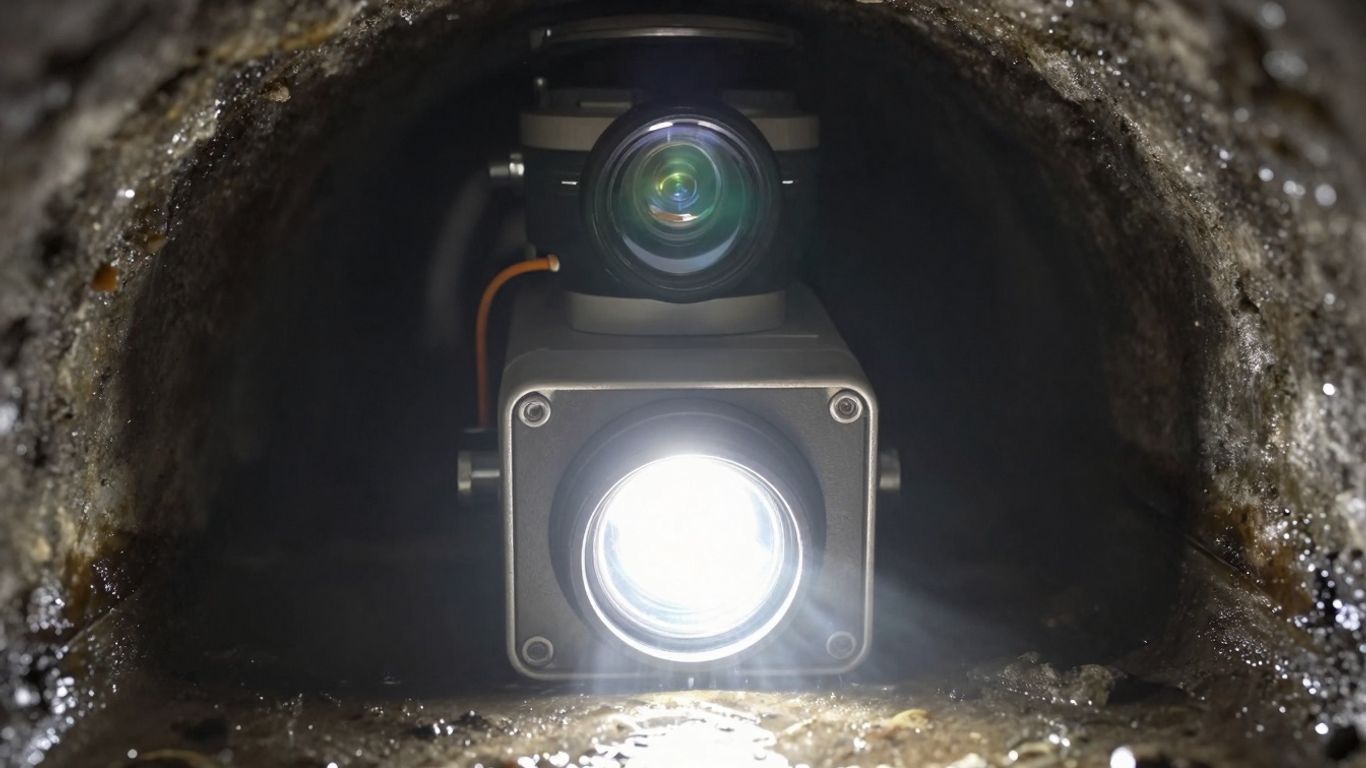
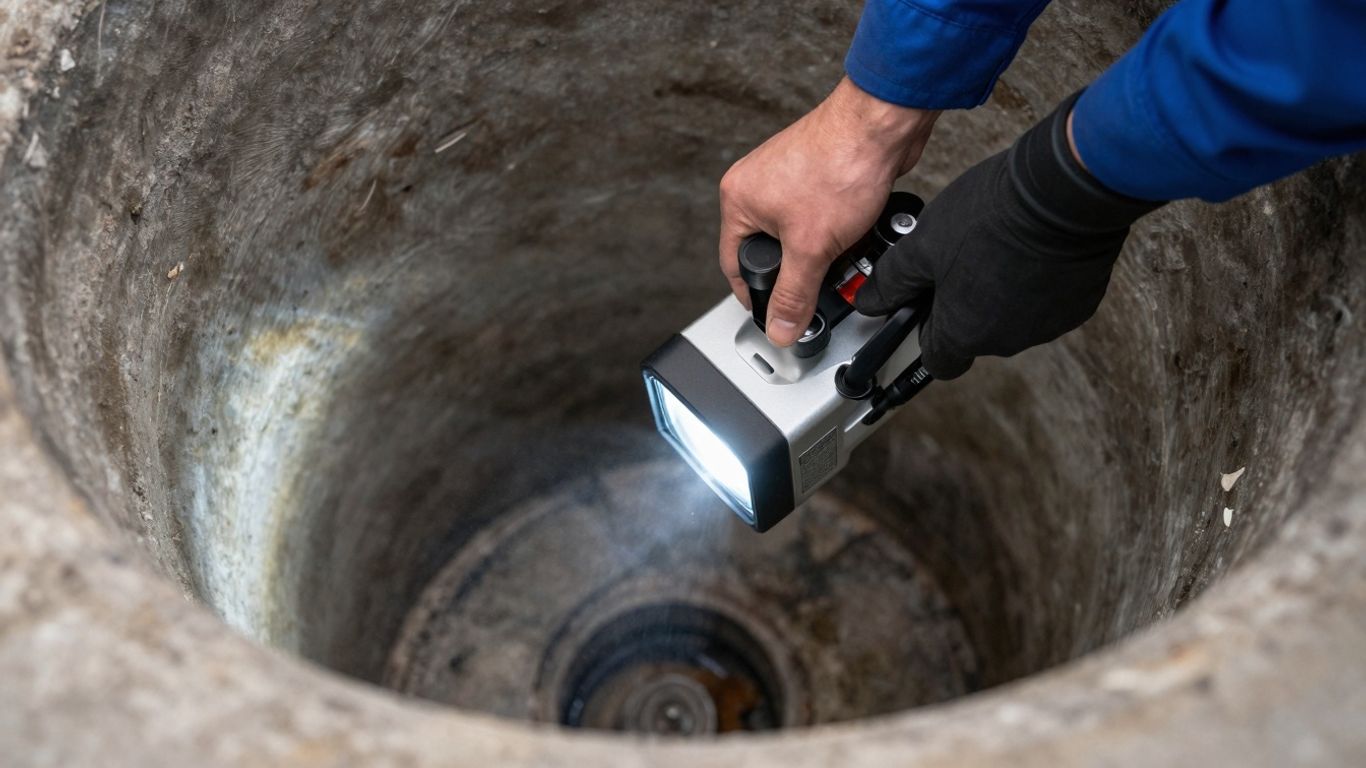
For situations requiring an emergency water main fix, having a reliable plumber on call is a lifesaver. They can quickly assess the situation, often using specialized equipment to locate the exact problem without unnecessary digging. Depending on the extent of the damage, a repair might involve patching the existing pipe or, in more severe cases, a full underground pipe replacement.
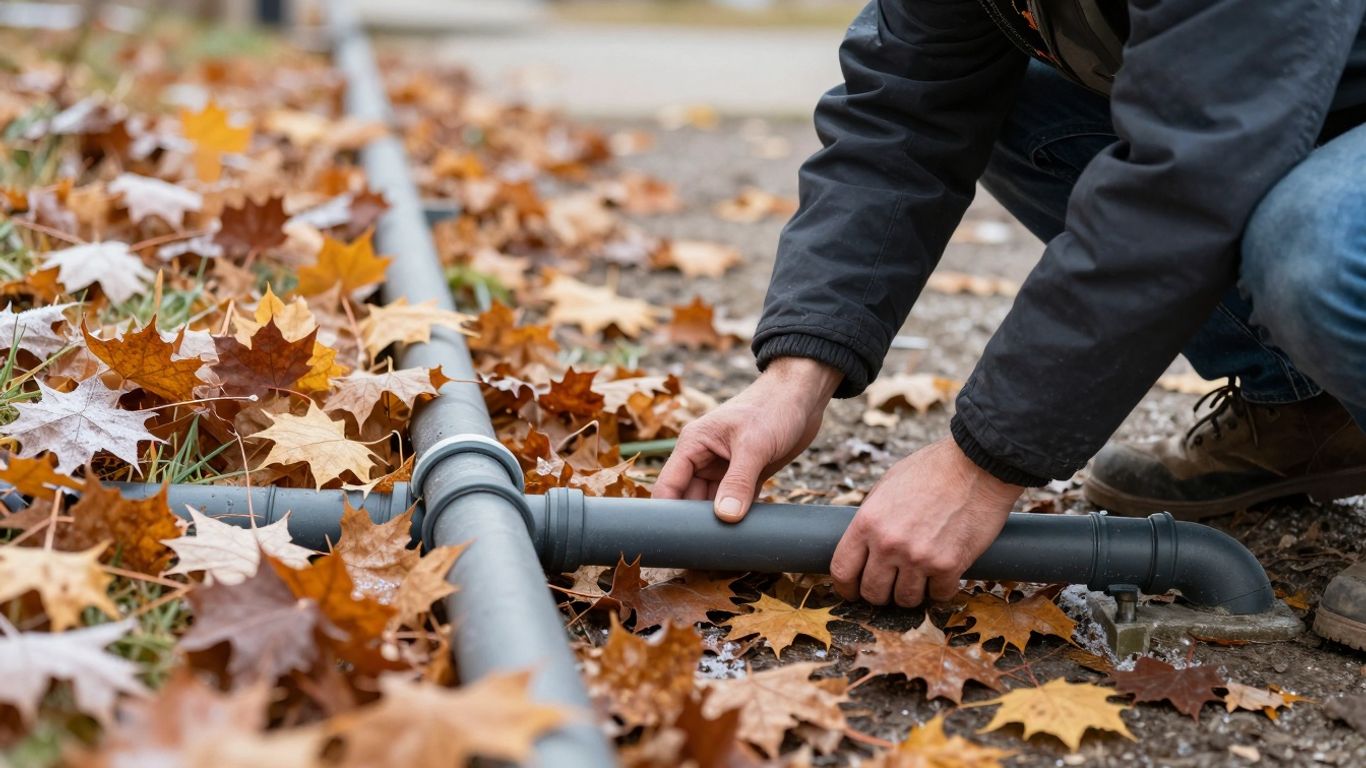
Replacing a main water line is a significant project that requires careful planning and execution. It involves excavating the area around the damaged pipe, disconnecting the old line, and installing a new one. This process needs to be done by professionals who understand local codes and have the right tools to minimize disruption to your property and ensure a secure connection to the municipal water system.
If you’re looking to establish a new water service line or upgrade an old one, it’s important to work with a company that handles all the necessary permits and understands the process for a new water service line installation in Ottawa. They can guide you through getting city approval and ensure the work meets all regulations.
Here’s a quick look at what’s involved:
- Assessment: A thorough inspection to pinpoint the leak or damage.
- Excavation: Carefully digging to expose the affected section of the pipe.
- Repair or Replacement: Fixing the damaged area or installing a new section of pipe.
- Testing: Ensuring the new or repaired line holds pressure and is leak-free.
- Restoration: Backfilling the excavation and restoring your landscaping as much as possible.
Maintenance Tips to Prevent Future Issues
Taking good care of your water lines now can save you a lot of headaches and money later. It’s not just about fixing things when they break; it’s about being proactive. Think of it like regular check-ups for your car – you do them to avoid getting stranded on the side of the road.
One of the simplest things you can do is keep an eye on your water meter. If you’re not using any water and the meter is still ticking, you might have a hidden leak somewhere. Catching these early is key to preventing bigger problems.
Here are some practical steps to keep your water lines in good shape:
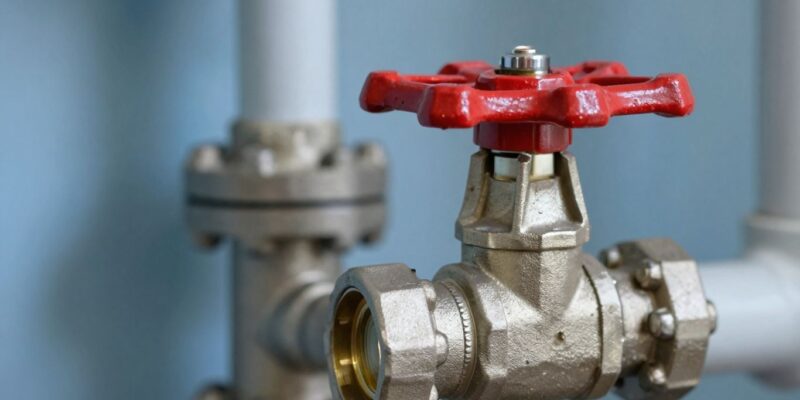
- Know your shut-off valve: Make sure you know where your main water shut-off valve is located and that it works. In an emergency, being able to turn off the water quickly can prevent serious damage.
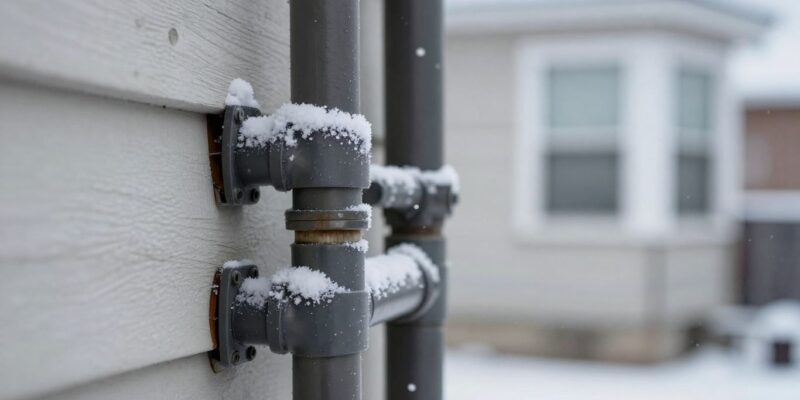
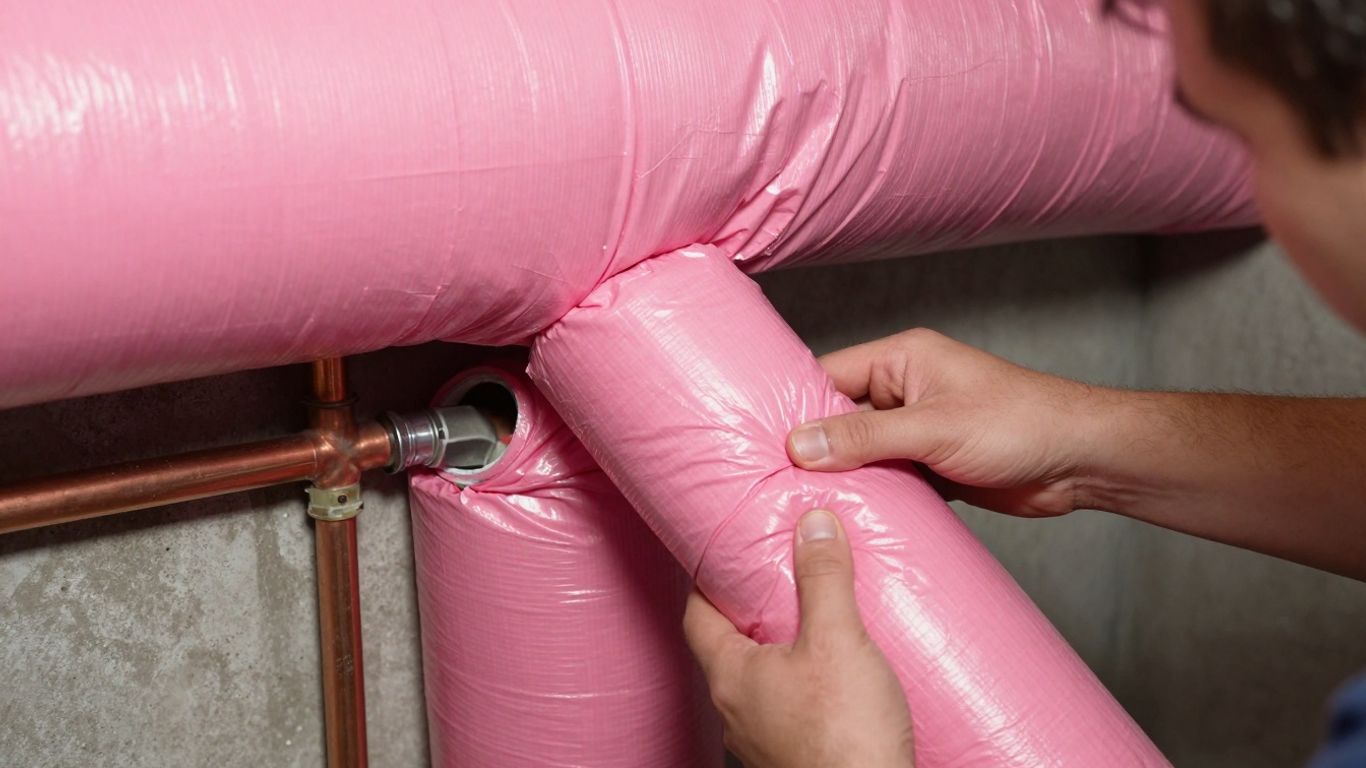
- Insulate exposed pipes: Especially during Ottawa’s cold winters, pipes that are in unheated areas like crawl spaces or basements can freeze and burst. Adding insulation can stop this.
- Be careful what goes down the drain: Avoid pouring grease, coffee grounds, or harsh chemicals down your drains. These can build up and cause blockages, putting extra pressure on your pipes.
- Check for corrosion: Periodically look at your visible pipes for any signs of rust or corrosion. If you see it, it might be time to have a plumber take a look.
- Manage water pressure: High water pressure can stress your pipes and fixtures over time. If you suspect your pressure is too high, consider getting a pressure-reducing valve installed.
Regularly inspecting your plumbing system, even just walking through your basement and looking for damp spots or listening for unusual sounds, can make a big difference. It’s about building good habits.
Sometimes, the smallest issues can turn into major repairs if they’re ignored. A little bit of attention now can mean avoiding a flooded basement or a costly emergency call later on. Don’t wait for a problem to happen; take steps to prevent them.
Conclusion
So, we’ve covered a lot about water lines in Ottawa, from spotting problems to getting them fixed or even installing new ones. It can seem like a lot, but remember, taking care of your water lines is key to a healthy home and avoiding bigger headaches later on.
When things go wrong, like a sudden leak or low water pressure, it’s easy to panic. But knowing what to look for and having a plan makes a difference. For any serious work, especially on the main line or when you’re not sure what you’re doing, calling in the pros is usually the best bet. They’ve got the tools and the know-how to get it done right, and often faster than you could figure it out yourself.
Here’s a quick rundown of why professional help is often the way to go:
- Expertise: They know the ins and outs of plumbing systems.
- Efficiency: They can usually complete repairs or installations quicker.
- Safety: They follow proper procedures to avoid further damage or hazards.
- Peace of Mind: Many offer warranties, so you know the work is backed.
Dealing with water line issues can be stressful, but remember that prompt attention and professional help can save you a lot of trouble and money in the long run. Don’t hesitate to reach out to local Ottawa experts when you need assistance.
Regular maintenance, like checking for small leaks or insulating pipes in colder months, can also go a long way in preventing future problems. Think of it as giving your home’s plumbing a little TLC. By staying on top of things, you can keep your water flowing smoothly and avoid those unexpected, costly repairs.
Need a plumber in Ottawa you can trust? We’re here to help with all your plumbing needs, from fixing leaky faucets to bigger jobs. Don’t wait for a small problem to become a big mess. Visit our website today to learn more about our services and how we can help keep your home running smoothly.
Wrapping Things Up
So, dealing with your home’s water lines in Ottawa can feel like a big job, whether you’re putting in a brand new connection or fixing an old one. It’s not just about digging a hole and hooking up a pipe; there are permits, codes, and making sure everything is done right so you don’t have problems later. We’ve gone over why it’s important to get it done properly, what the process usually looks like, and why calling in the pros, like Dr. Pipe Drain and Plumbing, makes a lot of sense. They handle all the tricky bits, from permits to the actual work, using good materials and making sure it’s all up to code. Keeping your water service reliable is key, and getting professional help for these kinds of projects is usually the smartest way to go.
Frequently Asked Questions
How long does it usually take to install a new water main line to my house in Ottawa?
Typically, connecting a new water main to your home in Ottawa takes about 1 to 3 days. This timeframe can change depending on how big your property is, the type of soil, and how far the new pipe needs to run. We’ll give you a more detailed schedule after we check out your place.
Will installing a new water line tear up my yard?
Not usually. While we do need to dig, we use modern methods that aim to cause as little disruption as possible to your lawn, driveway, or walkways. Our goal is to get the job done with minimal impact on your property.
Do I need a permit to get a new water main connection or replace my old one?
Yes, you definitely do. Ottawa’s rules require permits for any work done on water main connections or replacements. Don’t worry, though – we handle the entire permit process for you to make sure everything is compliant with the city’s regulations.
What are the main signs that my water line needs repair?
Keep an eye out for things like water pressure dropping, water leaks showing up, rusty-colored water coming from your taps, or if your pipes look really old and worn out. These are all clear signals that your water line might need some attention.
What happens if my home has old lead pipes?
If your home has old lead pipes, it’s important to replace them for your health. We can safely remove lead service lines and install a new water main connection using safe, up-to-date materials that ensure you get clean water.
How much does it cost to connect a water main to my house?
The cost can vary. It depends on how far the new pipe needs to run, the type of ground we’re digging through, and whether we’re installing a completely new line or just replacing an old one. We always provide a clear, upfront estimate before we start any work.